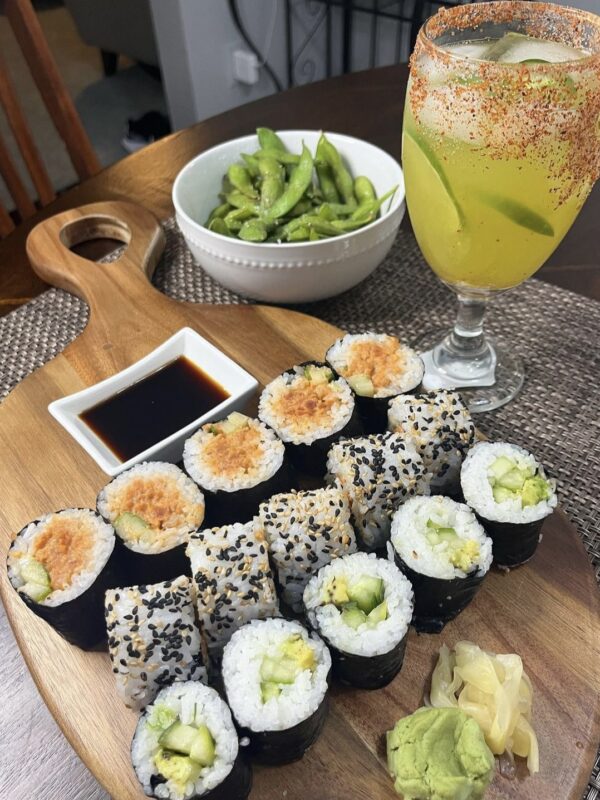
It’s time to put the take-out sushi on hold and wow your guest with fresh homemade sushi! It is so much easier than it sounds and a great way to get the whole family involved. From california rolls for the non-sushi lovers, to the spicy tuna and salmon roll lovers, you can customize it the way you like it all while not breaking the bank. Sushi making is a perfect way to get the whole family involved with dinner time, but also makes a perfect date night or dinner party with friends! Here are some easy tips for your next sushi night at home!
Prep Time
10 minutes
Cook Time
15 minutes
Serves
6
Ingredients
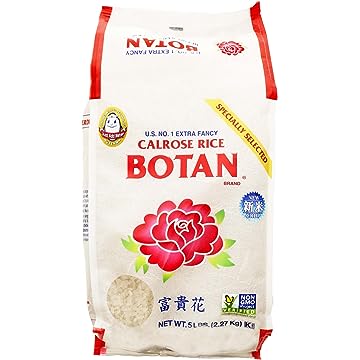
- 2 cups sushi rice ( I like Botan)
- 2 cups water
- 1/4 cup rice vinegar
- 1 1/2 TB sugar
- 1 TB mirin
- 1 tsp salt
Steps
1
Rinse the rice under cold water until water runs clear. Drain & let sit for 10 mins.
5
Plate the meal attractively, garnish as desired, and serve it hot. Enjoy your delicious homemade meal, and share it with family or friends if desired.
1.) the RICE
The most important part of sushi is ultimately the rice. But not just any rice. We need to be using the proper grain in order to mimic that sticky texture that will help hold your rolls together! My favorite rice to use while making sushi is Botan, you can find the link here. It is also important to remember to wash your rice. Yes, you heard me right. Rinsing your rice until the water runs clear will help for a better texture, you can thank me later. After I cook my rice to perfection, I ALWAYS add salt, a pinch of sugar, and about a tablespoon of mirin which you can find here. This is the perfect combo for sushi rice that tastes even better than any sushi in your takeout rotation. You can click to shop the following links below!
2.) the PROTEIN
One thing you should always remember when making sushi at home is, not all raw fish is edible. You need to ensure, regardless of the fish you chose, that it is high quality, sushi grade tuna, salmon etc. This is the safest to eat and will ensure both you are your dinner guests are safe & satisfied. Sushi grade fish just means it was quickly frozen to a certain temperature to kill off any bacteria that could potentially grow. If you ever have any questions, don’t be afraid to ask questions at the fish or butcher counter. They always give the best recommendations!
3.) FRESH produce
Once you secure a quality protein or two, you want to ensure you chose the proper vegetables to supplement. Using fresh veggies (& fruits, if you’re feeling fancy) will give you a crisp and crunchy roll that will perfectly emulate your favorite sushi restaurant. Crisp cucumbers make for the perfect crunch in california rolls, fresh mango can help elevate your standard sushi roll, and crisp lettuce shocked in ice water will add a ncie crunch to any of your creations. it is up to you in how simple or how elevated you would like your sushi to be!
4.) the ASSEMBLY
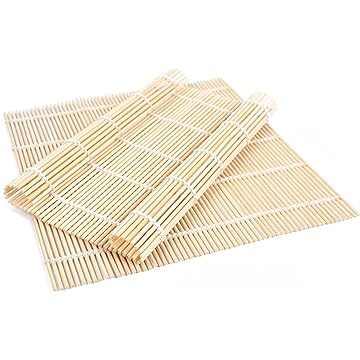
When many people think of making sushi, the part that scares them the most is the rolling process. Have no fear, I am here to tell you it is much simpler than you may think. The first thing you want to invest in is a proper sushi form that you can shop here, never pay more than $3 for one of these. I always line mine with plastic wrap to ensure it does not stick. This also helps for easy clean up. it is also essential to not overload your roll. After your place down your nori, you can easily spread your warm sushi rice using gloves to ensure a thin layer of rice. You can then insert your toppings of choice in the center of the roll. It is easier to start with less toppings until you get the hang of the size of sushi you desire. Tightly fold over the end closest to you over your toppings, and continue to roll, ensuring your plastic wrap stays on the outside of the roll. Before slicing, it is easier to chill your rolls for approximately 30 minutes to they are easier to slice, I do this right in the plastic wrap! When slicing, be sure to use a sharp knife! Keeping a damp cloth to wipe off your knife after each cut will help for a more seamless process.
You can use my code “PLATESBYALYSSA” FOR $$$ OFF your Santoku knives HERE !
5.) Toppings !
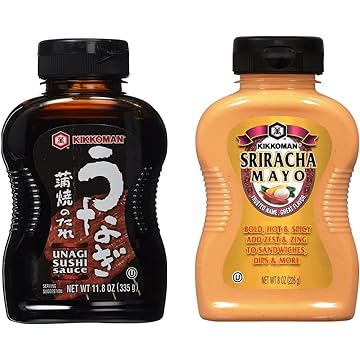
If you so desire, you may roll your sushi prior to cutting in white or black sesame seeds. However, some of my favorite sushi toppings are as followed: green onion, spicy mayo, eel sauce, trout roe, caviar, sriracha, jalopeno, the possibilities are really endless.
Dont forget to tag me in all of your sushi creations @platesbyalyssa on all socials 🙂 !

